This has been quite a different winter break for us, hunkering down and lying low for Christmas and New Years’, but we found the perfect project to keep our family busy – constructing our own arcade cabinet!

I’ve had RetroPie loaded onto my Raspberry Pi hanging around for three years, but we thought this would be a fun way to showcase these classic games, plus combine Bethany’s developing woodworking skills with a fun tech project.
I found some great plans over at The Geek Pub that we purchased for $5. I’m going to defer to The Geek Pub’s post for the details on materials and items, but wanted to share our experience in putting things together.
We split the work into three days: cutting (Day 1), assembling/drilling (Day 2), painting and final assembly (Day 3).
Day 1 – Cutting


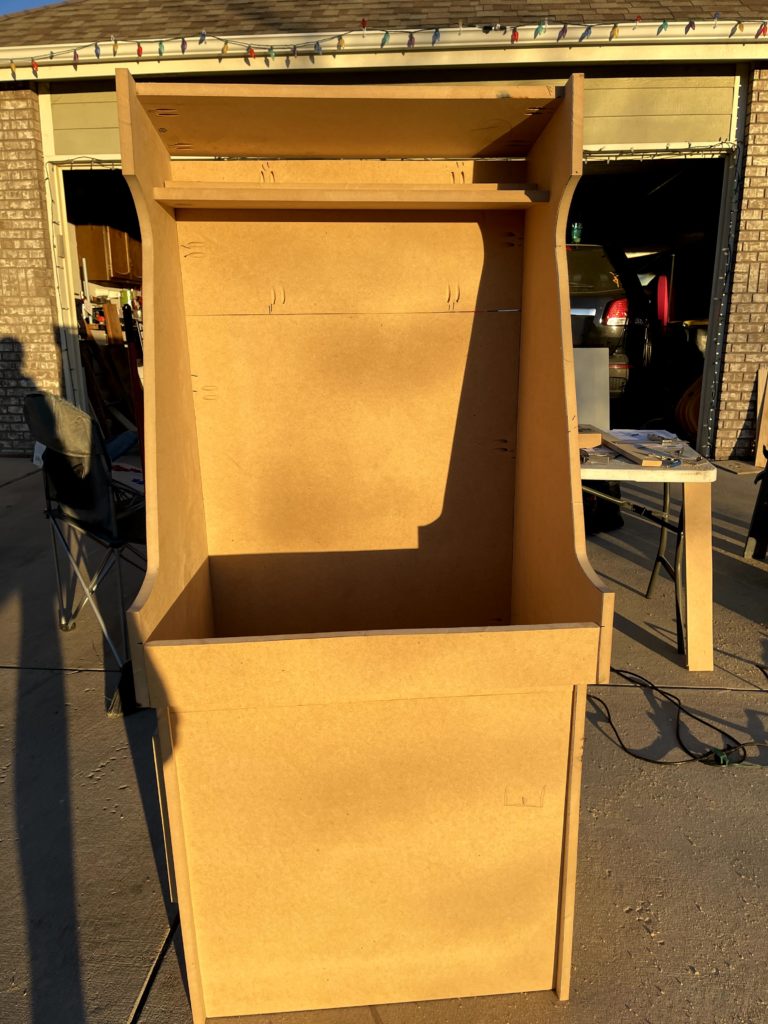
We started by tracing out the side panels as one continuous piece. After cutting the first side, we used it as a stencil for the second side, then went through and cut the back, top, bottom, and interior panels. Cutting took the better part of the afternoon, but we managed to fit all of our pieces by evening.
Day 2 – Outer Assembly & Control Panel
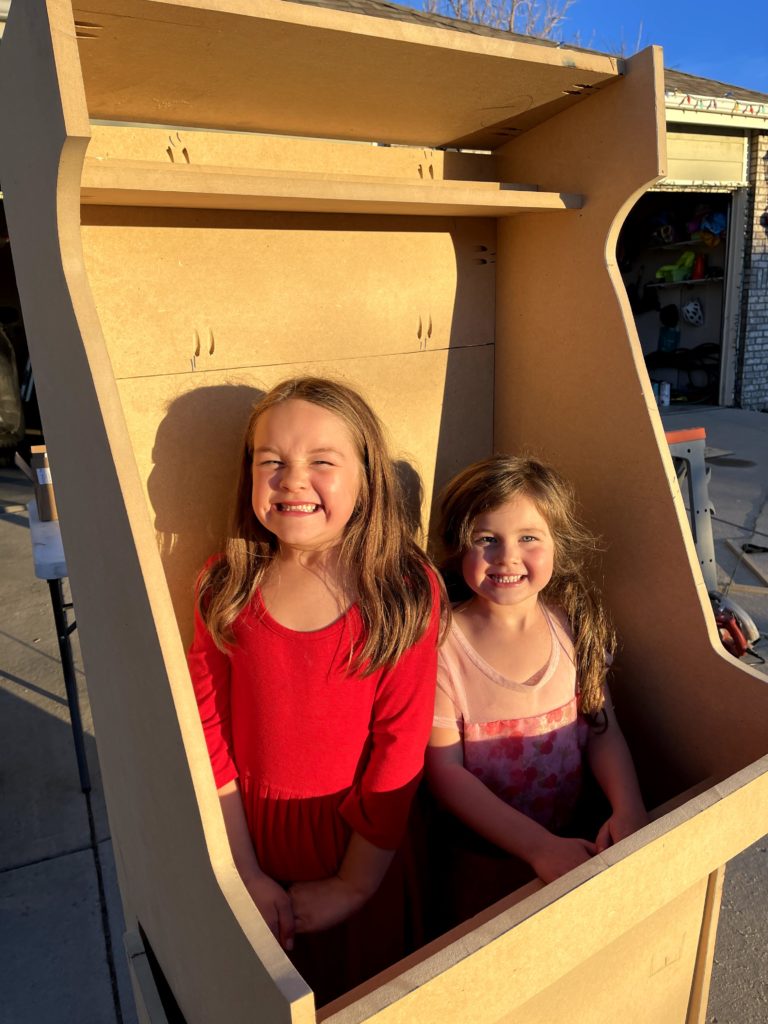
With all our pieces cut, we spent the next morning doing all the assembly. Bethany got to use her new pocket-hole kit so that we could assemble it from the inside. We started by assembling the sides to the back, then the exterior panels, starting from the bottom and working our way up.


While Bethany was working through the panel assembly, I got to work on the control panel. We used the hole saw to drill the 22 holes in the panel (we actually had to use the backup cut, as we hit a snag the first time around). We actually got a 1/2″ thick piece of plywood for the panel to better tighten the buttons. Once the holes were drilled, the girls and I set to work on installing all the buttons and the joysticks. We then connected all the ribbon cables to the USB controller. This ended up taking more time than expected, but looked really cool when we were done.


At the end of day two, we had the arcade casing assembled and saw the end of the project in sight!


Day 3 – Final Assembly, Painting and Moving
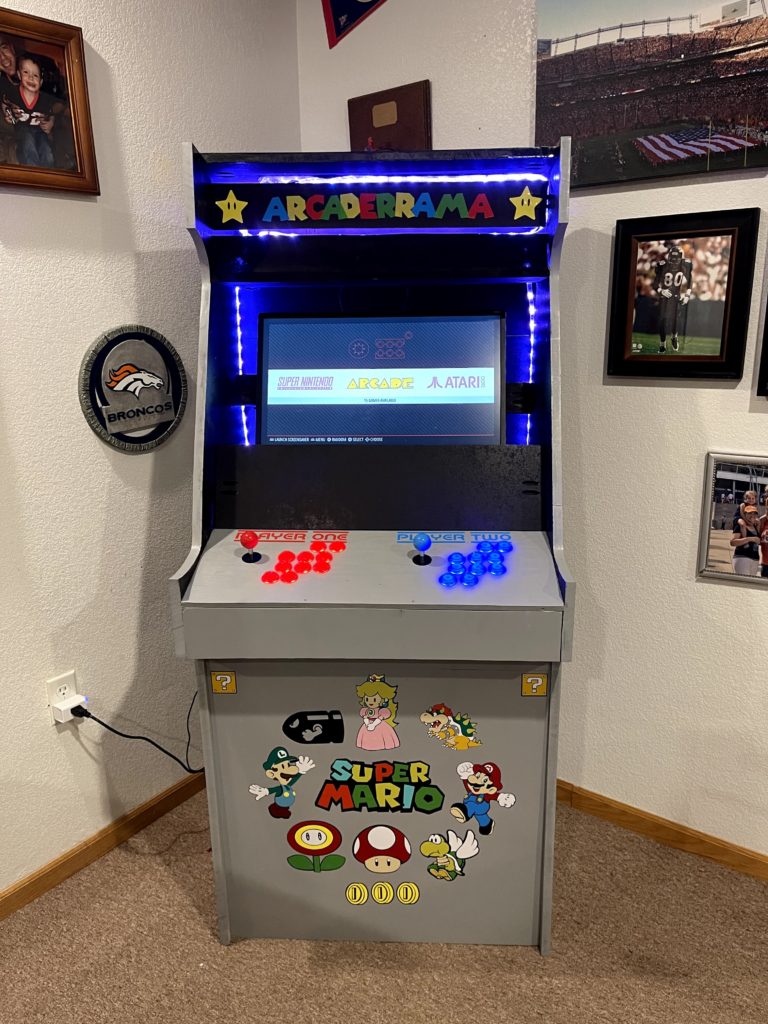
Blessed with beautiful warm weather, we got up and painted the outer casing, going with grey. We ended up spray-painting the interior black to help the monitor blend in. We then put all of the interior panels in. One of the things we struggled with the plans was figuring out the monitor. The plans specified a 27″ monitor, and we ended up using a 24″ monitor but weren’t sure how we were going to secure it. We ended up building an ad-hoc shelf to place the monitor at an angle, then put a piece of backing wood to keep it from tipping too far back. We then added all of the wires, speakers, and lighting. We were finally ready to move it downstairs into the game room and get things running!


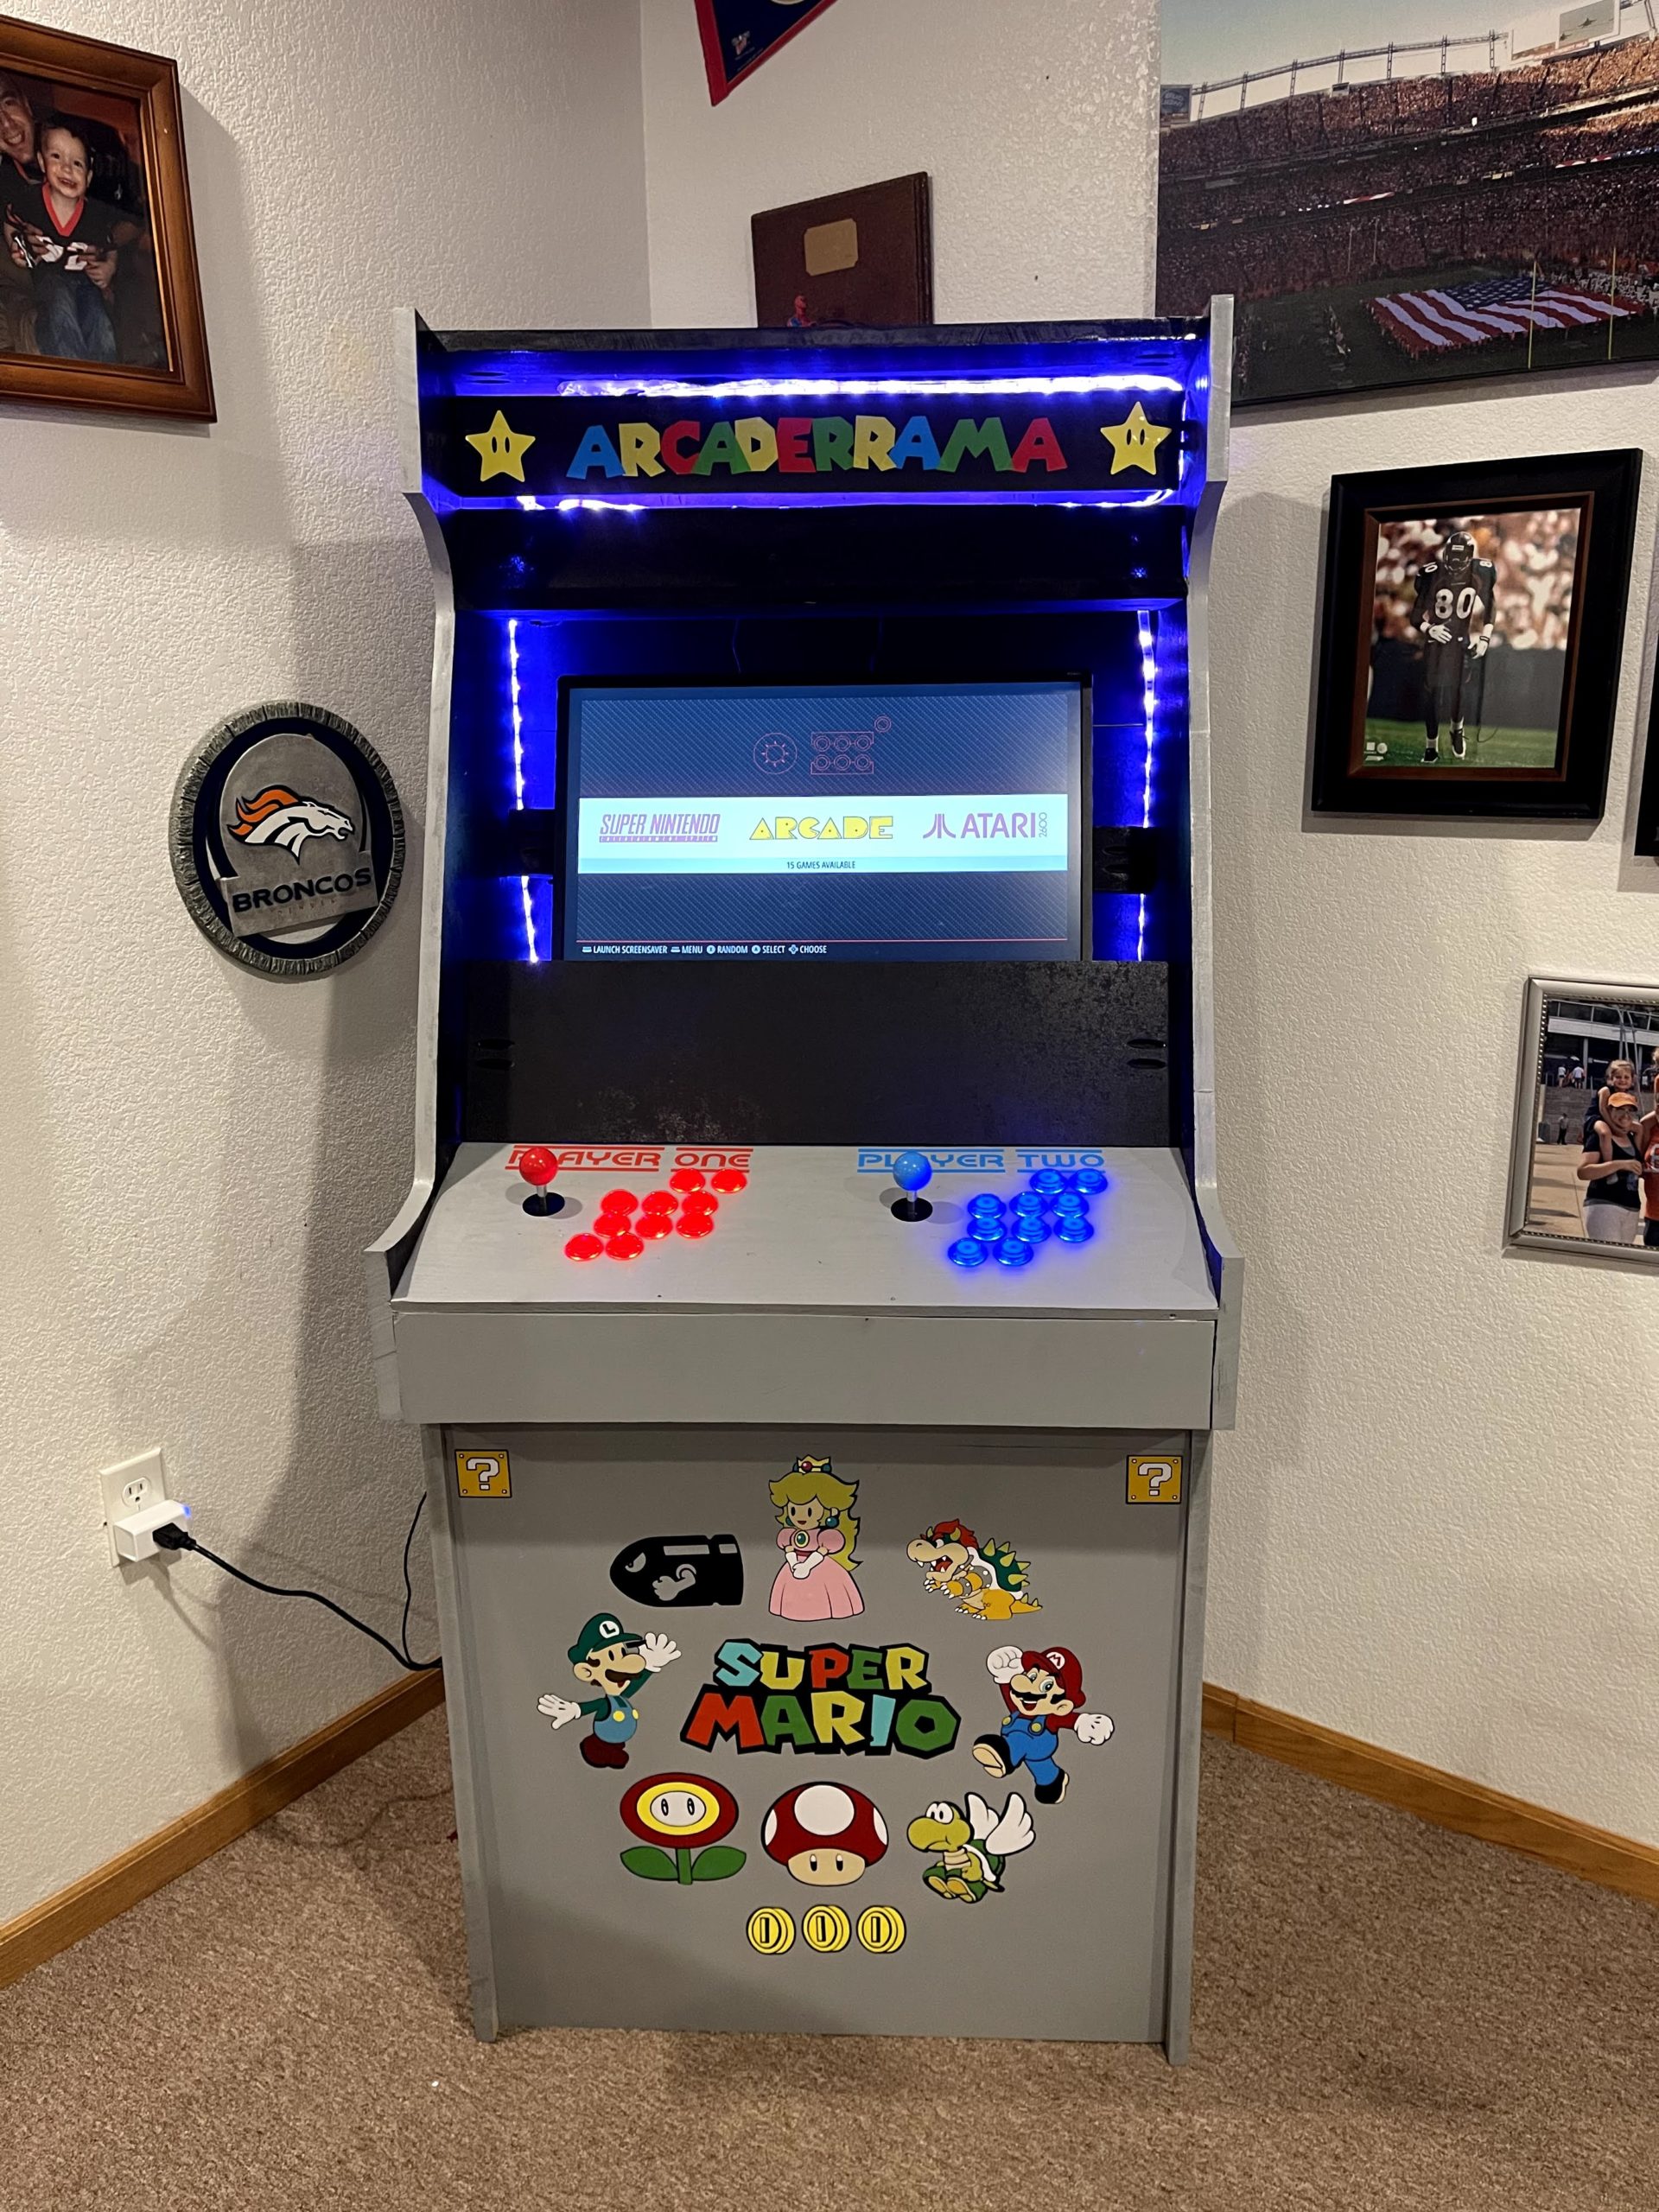
We got the monitor placed, the Raspberry Pi hooked up and fired everything up for the first time!


Bethany spent the rest of winter break printing the decals and making the arcade look awesome! Bethany indulged me in printing decals of some of my favorite games, some taking longer than others. We were really excited about how it turned out!


